Ah, the joys of owning a laptop - reliability and portability mixed into one sleek package. That is, until disaster strikes in the form of a cracked screen. Not to worry though! With just a few steps and some elbow grease, you too can repair your laptop's busted screen and be back inspiring jealousy in all your friends with that perfect aesthetic once more. In this blog post we will walk through how to fix your broken laptop screen like an absolute pro!
Fixing a laptop screen can seem like an intimidating task, but with the right tools and resources, it’s actually quite simple. The main components of fixing a laptop screen include purchasing the replacement parts, researching any potential software issues, backing up all of your data, and physically replacing the broken display.
The first step in repairing a laptop screen is to purchase the correct replacement parts. Manufacturers will often offer replacement LCD/LED screens that are specifically designed to fit your model of laptop. Be sure to research what type of model you have before ordering one online or from a local retail outlet. Additionally, many screens come with additional components like cables, hinges and connectors which will need to be ordered separately if they are not included in the kit.
Once you have acquired all necessary parts for the repair process, it’s important to research any potential software issues that may occur once the new screen is installed. Outdated drivers or incorrect settings can cause problems with display quality as well as other hardware components after installation. Furthermore, if you don’t back up your data prior to making repairs there is always a chance that files could be lost during the process so make sure to create regular backups for safekeeping.
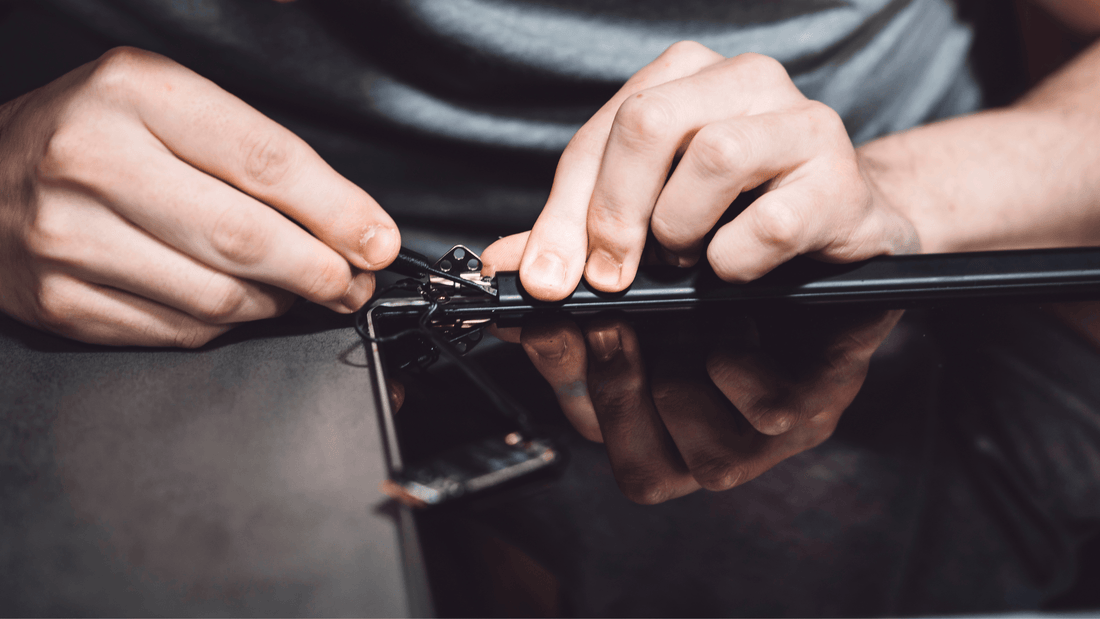
When you have completed all of these steps then it’s time to begin physically replacing the broken display on your laptop. Begin by disconnecting all power sources and remove existing screws from around the display panel. Carefully lift out old panel and set aside along with its wiring harnesses before connecting new panel into place using same screws that were removed earlier. Finally turn laptop back on and test new display settings ensure everything works properly before closing up device again securely!
Overall fixing a laptop screen doesn’t take too much effort if done right way – but make sure familiarise yourself with process beforehand avoid any costly mistakes! With proper preparation and knowledge anyone can replace their own LCD/LED screens safely efficiently save both money time resulting better functioning machine overall!
Don't get me wrong, taking the time to repair a broken laptop screen can be inconvenient and stressful, but with a few easy steps, you’ll be back up and running in no time. Simple tools such as screwdrivers, gloves, and plastic pry tools can help prepare you for the task at hand. Don't forget about any essential software updates or virus scans which should be ran after the repair process is complete.
If at any point during the process you feel uncomfortable or overwhelmed with how to fix a broken laptop screen, contact us for assistance. Our expert technicians can take care of all your laptop repair needs quickly and efficiently so you don't have to worry anymore.